If you’re a professional in the t-shirt printing industry, you know that mastering your T-shirt heat press machines can make or break your business. Many users struggle with inconsistent results, improper settings, and wasted materials, leading to frustration and lost time. This post aims to address these common issues by offering insider tricks that can transform your heat pressing game. By diving into these expert tips, you’ll gain valuable insights to optimize your machine’s performance, ensure flawless prints, and boost your productivity. Whether you’re looking to refine your techniques or solve recurring problems, this guide is essential for achieving top-notch results and staying ahead in the competitive world of t-shirt printing.
Trick 1: Pre-pressing Your T-shirt
To achieve great prints with your T-shirt heat press machine, it’s crucial to remember to pre-press your T-shirt. Pre-pressing helps smooth out any wrinkles in the fabric and remove moisture from the fibers, ensuring consistent print results.
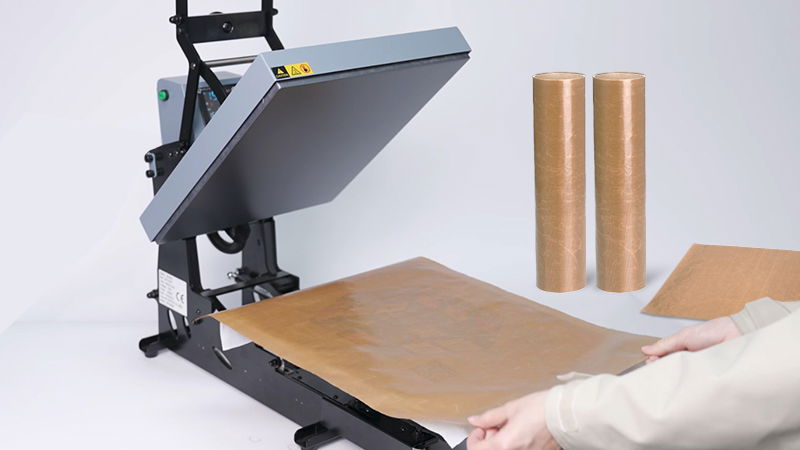
Trick 2: Use a Teflon Sheet
Using a Teflon sheet is a simple yet effective way to ensure even heat distribution and consistent prints. It also acts as a protective barrier between the heat platen and the T-shirt, preventing the fabric from sticking and reducing the risk of scorch marks.
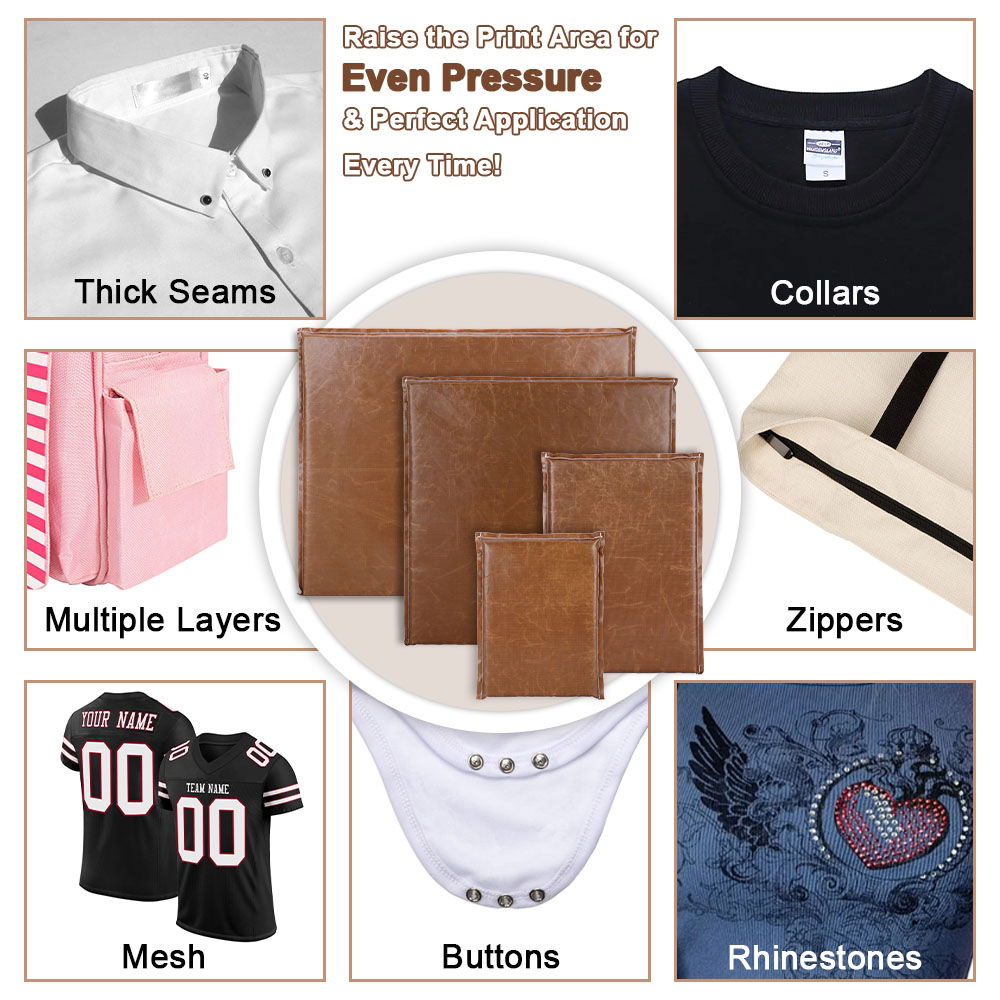
Trick 3: Use Teflon Pillow If Needed
The Teflon pillow is another essential accessory, especially for T-shirts with collars, seams, pocket areas, or other uneven surfaces. In such cases, the Teflon pillow raises the printing area, ensuring better contact and even distribution of heat and pressure for consistent prints.
Trick 4: Check Pressure Settings
Proper pressure is crucial for achieving a smooth, durable print, so it’s important to adjust and test the pressure settings based on the material and thickness of your t-shirt.
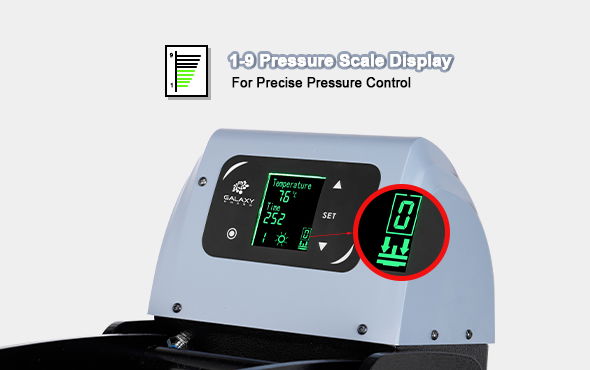
The challenge in setting the right pressure is that most heat presses do not provide exact pressure numbers but instead use light, medium, or heavy to indicate recommended pressure levels for different substrates. A simple method to gauge the pressure is to place a piece of paper between the platens and attempt to pull it out.
If the paper can be pulled out with some effort, the pressure is light. Increase the pressure using the adjust knob until the paper can no longer be pulled out easily, indicating medium pressure. Continue adjusting until you have to apply significant force to close the platen, which indicates heavy pressure.
Trick 5: Use a Temperature Gun
Invest in a heat gun to measure the exact temperature of your platen. This helps in ensuring that the heat press machine is accurately heated, especially when printing with different materials.
You might wonder why this is necessary since most heat press machines display the heating temperature on the control panel. The issue is that the displayed temperature can sometimes differ from the actual temperature. Without a temperature gun, you might waste time troubleshooting the problem incorrectly.
Trick 6: Experiment with Pressing Techniques
For unique textures or special fabrics, experiment with different pressing techniques such as layering or multi-step presses to achieve the desired effect.
Layering: This technique involves applying multiple layers of heat transfer material or designs, pressing each layer individually to ensure they adhere properly and blend well together. For instance, if you’re layering a multi-color graphic, press each color one at a time, allowing each layer to cool before applying the next.
Multi-Step Presses: This method involves pressing the fabric in stages, with different temperature, pressure, or timing settings for each stage. It helps to handle fabrics with special requirements or complex designs, ensuring even application and preventing issues like bubbling or uneven transfers. For example, press a glitter transfer at a lower temperature first, then add a top layer of foil at a higher temperature.
Trick 7: Test Before Production & Keep Records
Before starting a large batch, test your heat transfer on a sample fabric to ensure the temperature, time, and pressure are set correctly.
And remember to keep a log of temperature and pressure settings for various types of materials and designs. This helps in maintaining consistency and efficiency in production.
Trick 8: Clean & Maintain Your Press Regularly
To maintain optimal performance and avoid unwanted marks on your prints, it’s crucial to keep the platen clean and free from residue and adhesive build-up. Regularly inspect the platen and clean it thoroughly to ensure smooth and consistent heat transfer.
Additionally, perform routine maintenance on your T-shirt heat press machine by checking for signs of wear and tear. Regular maintenance helps ensure that all components are functioning correctly and extends the lifespan of your equipment, allowing it to deliver the best performance consistently.
Trick 9: Follow Instructions
To ensure the best results with your T-shirt heat press machine, it’s essential to follow all manufacturer instructions closely. Start by adhering to the heat press manufacturer’s guidelines, which provide specific recommendations for temperature, pressure, and timing based on your machine’s design. Adjust the heat press settings according to these instructions to match the type of fabric and transfer material you are using.
Additionally, carefully follow instructions for design size and placement. Ensure that your design is correctly sized for the print area and positioned accurately on the T-shirt. Misalignment or incorrect sizing can lead to poor results and wasted materials. By strictly following these instructions, you ensure optimal heat transfer, avoid common issues, and achieve professional-quality prints every time.

Trick 10: Invest In Quality Supplies
If you’ve followed all the instructions and best practices but are still not achieving the desired print quality, it may be time to evaluate the supplies you’re using. Start by examining the quality of your transfer materials, such as vinyl, transfer paper, or ink. Different brands and types of materials can yield varying results, so it’s important to test and compare products from different suppliers.
For instance, if you’re using heat transfer vinyl (HTV), try experimenting with different brands or types (such as glossy vs. matte) to see which provides the best adhesion and durability for your specific fabric. Similarly, if you’re working with transfer paper, test different brands and ensure they are compatible with your printer and heat press settings.
Additionally, review the quality of your inks or dyes, as inconsistencies here can also affect print results. Conducting these tests will help you identify the best materials and combinations for your specific projects, ultimately leading to improved print quality and consistency.
Conclusion
Achieving consistent, high-quality results with your t-shirt heat press machine requires attention to detail and adherence to proven techniques. The 10 tricks outlined here—ranging from pre-pressing to investing in quality supplies—are designed to enhance your efficiency and print quality. Implementing these strategies will help you address common issues and optimize your printing process. For continued excellence, ensure you apply these best practices with your t-shirt heat press machines and stay ahead in your printing endeavors.